
Image by Steve Beckett from the First Edition of The Barons’ War rulebook.
I have been meaning to write something about this for a while. One of the great things about the Barons’ War Facebook group is seeing people’s games. I probably spend far too long looking at the tables, especially when somebody has built a nice village, river or stretch of countryside.
Every now and again, though, I find myself wanting to reach into the photograph and move a house six inches. Usually the scenery itself is lovely. There is just a tendency to arrange most of it around the outside of the table and leave a nice clear space in the middle for the game. That is not really the battlefield I wrote The Barons’ War for.
A skirmish game needs a different table
The Barons’ War is a skirmish game. If you are coming to it from games with large formed units, that is worth thinking about before you put any terrain down. I grew up playing plenty of rank and flank games, and they teach you certain habits about setting up a table. Big infantry units need room to move and wheel. A wood in the wrong place can turn into an obstacle that half the army spends the game trying to get around.
So you leave gaps. Buildings tend to end up towards the edges. Woods fit nicely into corners. The middle stays fairly open because that is where the armies need to manoeuvre. There is nothing wrong with that. It is exactly what those games need.
In The Barons’ War you are leading a much smaller body of men, and terrain should be part of how they fight. If there is a wall between my retinue and a group of archers, I want the wall. If a hedge lets me approach without being seen quite so easily, I am going to use it. A building in the way may be inconvenient, but it may also stop somebody shooting at me.
As a Barons’ War retinue commander, I certainly wouldn’t wander around medieval England hoping to find a large open field where everybody could see us coming. That is why the terrain guidance in the rules is there.
Start with at least twelve pieces
A normal game is played on a 4’ x 3’ table. Second Edition asks you to divide that table into twelve 1’ x 1’ sections and recommends one piece of Area Terrain or LoS-blocking terrain in each. That means at least twelve pieces of terrain on a normal table. You do not need to mark out the squares. I never have. It is simply a useful way of looking at the table and spotting the areas where not very much is happening.
And by a piece of terrain, I mean something that actually affects the game. A building certainly counts. So does a wood. A decent length of wall or hedge can. A hill, field or area of rough ground may as well, depending on how you are using it.
A barrel probably does not. I am very fond of barrels, but we have to draw the line somewhere.
This is not new advice. First Edition already said more terrain was better, and Second Edition carries that approach straight through. A Barons’ War battlefield should contain enough terrain to affect Movement, Line of Sight and where you send your Warriors.
Put terrain where it can cause trouble
This is the bit I think is easiest to miss. Do not be afraid to put a building somewhere near the middle of the table. Or a wood. Or two buildings.
If all the substantial terrain is around the edges, the centre of the table can become a large open route from one force to the other. That makes movement more straightforward and gives missile troops very generous lines of sight. Move a house into that space and suddenly you have to deal with it. Perhaps one Group goes around the left while another takes the right. Your archers can see one approach but not the other. Somebody gets behind the building and becomes a problem.
A hedge across a useful route can be enough to change how you approach it. A wood beside an objective can make the shortest route rather less attractive. Missile troops are a good example. Archers and crossbowmen should be useful, but on a very open table they can dominate simply because the other player has nowhere to go. If an archer standing in their deployment zone can see almost everything worth shooting at, I would probably move a house.

You still need open ground. I am not suggesting you cover every available inch with hovels and woods until moving a Group becomes an exercise in rearranging scenery.
An open field can be a very useful part of the table when you actually have to decide whether crossing it is a good idea. A road between two buildings can suddenly feel exposed. A clearing beside a wood might be exactly where mounted Warriors finally get some room. Open ground is much more interesting when there is another way to go.
Let the scenario start the table
Before you begin adding scenery, read the scenario. If it needs a particular building, road, crossing or objective, place that first. Then build the rest of the battlefield around it.
Second Edition gives you several ways of doing this. The players can take turns choosing sections and placing terrain. One player can set up the battlefield and the other chooses where to deploy. An umpire or somebody else can build the table for you. The scenario itself may tell you how the terrain should be arranged.
For a typical game, I still like taking turns. I might put down a wood because I have a plan for it. You add a wall nearby and the plan changes. I put down a hill. You place a building that blocks part of the view from it. By the time the table is finished, it has developed between the two of you.
Once any terrain required by the scenario is fixed in place and the rest is down, stop and look at the table. Look at it as a battlefield, not as a finished piece of scenery. Second Edition deliberately tells both players to pause once all the terrain has been placed and agree on the setup. You can add something, move something, turn it or remove it if that will make for a better game. That last check is part of setting up the game.
If one side is horribly open, add something. If two buildings have ended up so close that nobody can sensibly move between them, shift one. If you have accidentally created a wonderful firing position that covers most of the battlefield, have another look at it. If one player has obviously had the better of the terrain placement, fix it now. It is much easier before the first Warrior moves.
Agree on what the terrain does
There is another Second Edition rule here that is worth doing properly. Before you deploy, make sure both players agree how the significant terrain on the table works. In practice, there are three distinctions I want to be clear about before we start: Area Terrain, Hindering Terrain and terrain that blocks Line of Sight.
Area Terrain has a defined footprint. Woods, fields, marshes and similar features are obvious examples. Anything inside that footprint is part of the terrain, and before the game you agree what effect it has on Movement, Line of Sight and Cover.
Hindering Terrain does not stop you seeing through or over it, but it can interfere with shooting. Hedges, low walls and fences are common examples. You can still draw Line of Sight through them, but if at least half of the shooting Group is affected, the attack is Hindered.
LoS-blocking terrain is different. You cannot draw Line of Sight through it. A solid building or castle wall is the obvious example. Area Terrain can also block Line of Sight, which is why a wood may let you see into it, but not straight through to something on the other side.
Once you have agreed those things, the rest becomes much easier. Does that wood restrict Movement? Does the hedge block Line of Sight or only affect it? Does the wall provide Cover? How high is the hill for Higher Ground? Most of the time the answer will be obvious, but not always.
If you have built a particularly nice river running across the table, deciding whether it can actually be crossed is much easier before the first Warrior reaches it. This becomes even more useful when using scratch-built or unusual terrain. The model on the table should tell you most of what you need to know, but both players should start the game understanding it in the same way.
Look across it, not just down at it
One thing I often do once the scenery is down is get my head down to table height and look across the battlefield. It is not a sophisticated technique, but it works. A table can look packed from above and then, from miniature height, you discover a clear line of sight running straight across it. Sometimes the opposite happens. A fairly modest building turns out to block far more than you expected.
It is also a good way of spotting terrain that looks lovely but is unlikely to have any part in the game. We have probably all put a particularly nice wood in a corner and then realised nobody has the slightest reason to go there. Have a look from both sides of the table. Check where mounted Warriors can actually move, where missile troops can see and what the approaches to the scenario objective look like.
The table does not need to be symmetrical. I would rather it was not. Then look at it again with your own retinue in mind. If you are already thinking about a wall you want to reach before your opponent, good.
Perhaps there is an excellent position for your archers, but it is a long way from the rest of your force. The shortest route towards the objective might cross an open field, while the route through the wood takes longer but gives you some protection. That is the sort of choice I want terrain to create before the game has even started.

Make it feel like somewhere
There is another reason I like a busy Barons’ War table, and this has less to do with how the rules work. The scenery gives the battle somewhere to happen. Second Edition talks about giving the table a theme, and this is exactly what I mean by that.
A road should go somewhere rather than appearing for twelve inches and stopping. A river needs to enter and leave the battlefield. Walls and hedges usually enclose something. A patch of woodland in the middle of a village probably needs a better reason to be there than the fact that you had some trees left in the box. A church beside a road and a few houses can become the edge of a village. A manor and some outbuildings feel completely different. Put a road through a wood and I am already expecting somebody to be ambushed along it.
You do not need a huge terrain collection. A few buildings, some walls and hedges, trees, a field and a hill can be moved around again and again. Change the road, move the buildings and suddenly you are fighting over another little piece of medieval England. That is one of the things I enjoy about games at this size. The battlefield can feel quite specific without needing to build an entire town every time you play.
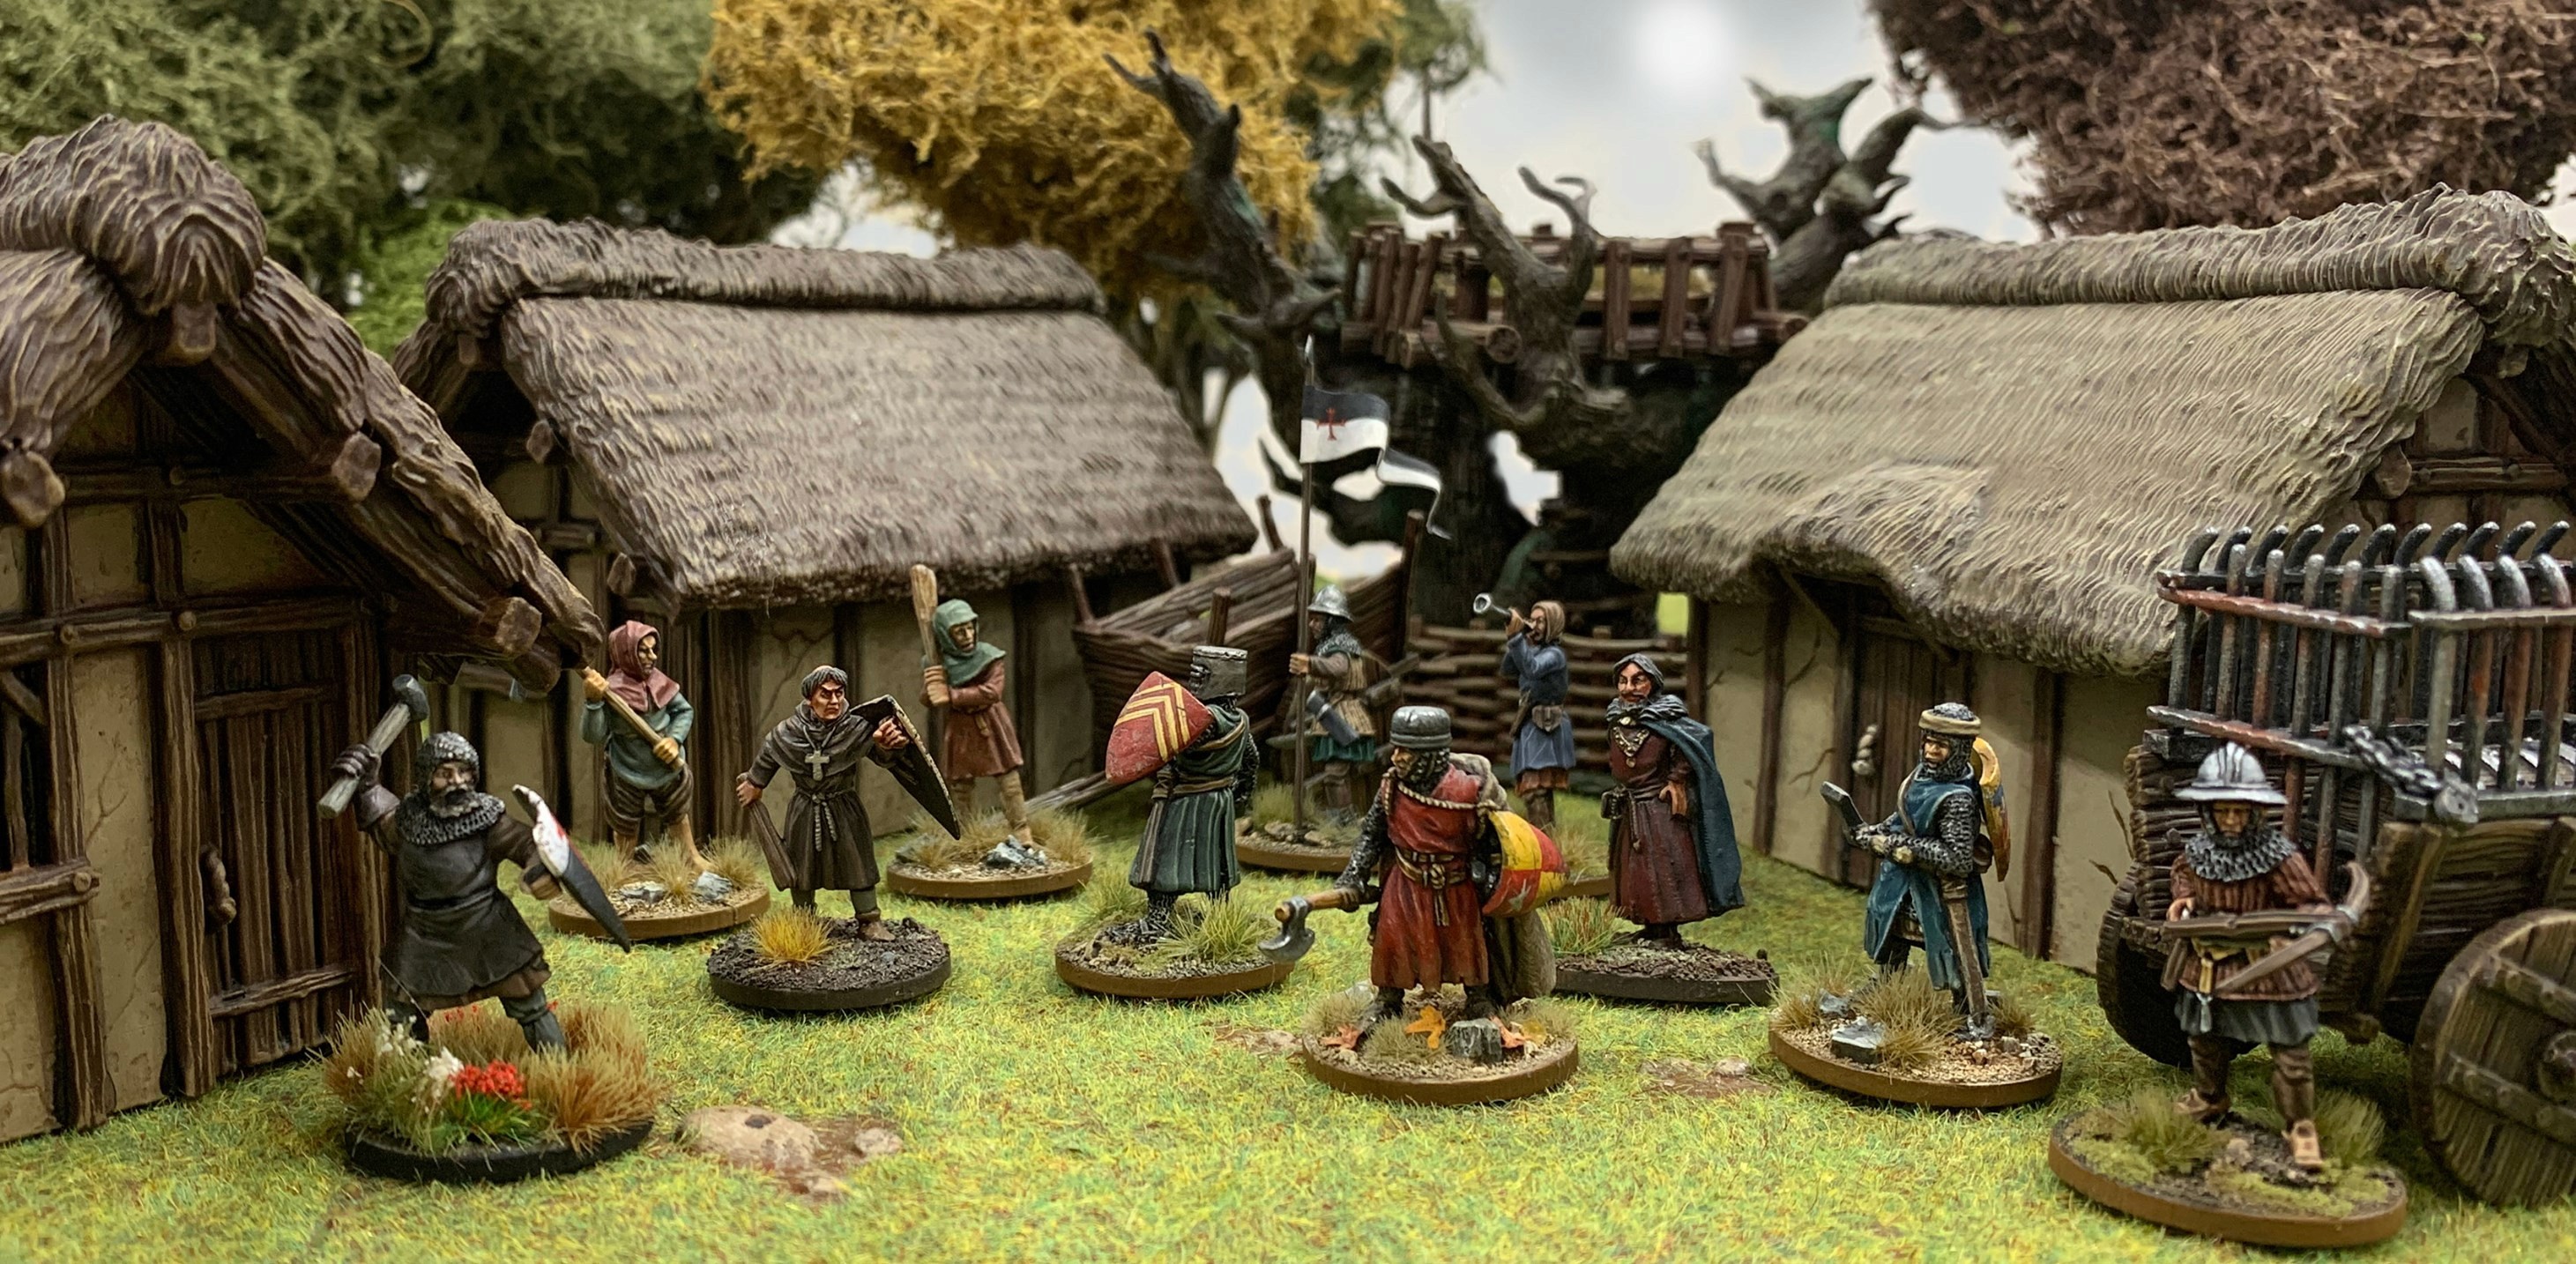
Photograph from my collection
Setting up your first game
If this is your first game, this is what I would do:
Place any terrain specifically required by the scenario.
Think of the 4’ x 3’ table as twelve 1’ x 1’ sections.
Aim for at least one substantial piece of Area Terrain or LoS-blocking terrain in each.
Spread the terrain across the table rather than putting most of it around the outside.
Take turns choosing a section and placing terrain.
When everything is down, look at the battlefield together and move, add or remove anything that would make for a better game.
Agree how each significant piece of terrain affects Movement, Line of Sight, Cover and Higher Ground.
Look across the table from miniature height.
Then deploy your retinues.
The First Edition of The Barons’ War put my view on terrain rather plainly:
“More terrain the better; much more terrain is better still!”
Second Edition says it rather more simply:
“The more terrain, the better!”
I meant it both times.
With The Barons’ War, scenery should be something you use, not something you admire around the edge of the table. Hide behind the wall. Go around the house. Use the hedge to approach. Fight over the building. Get annoyed because your opponent reached it first.
If you are deploying and already looking across the table at a wall thinking, I really want to take that, then the table is doing its job.
I have been meaning to write something about this for a while. One of the great things about the Barons’ War Facebook group is seeing people’s games. I probably spend far too long looking at the tables, especially when somebody has built a nice village, river or stretch of countryside.
Every now and again, though, I find myself wanting to reach into the photograph and move a house six inches. Usually the scenery itself is lovely. There is just a tendency to arrange most of it around the outside of the table and leave a nice clear space in the middle for the game. That is not really the battlefield I wrote The Barons’ War for.
A skirmish game needs a different table
The Barons’ War is a skirmish game. If you are coming to it from games with large formed units, that is worth thinking about before you put any terrain down. I grew up playing plenty of rank and flank games, and they teach you certain habits about setting up a table. Big infantry units need room to move and wheel. A wood in the wrong place can turn into an obstacle that half the army spends the game trying to get around.
So you leave gaps. Buildings tend to end up towards the edges. Woods fit nicely into corners. The middle stays fairly open because that is where the armies need to manoeuvre. There is nothing wrong with that. It is exactly what those games need.
In The Barons’ War you are leading a much smaller body of men, and terrain should be part of how they fight. If there is a wall between my retinue and a group of archers, I want the wall. If a hedge lets me approach without being seen quite so easily, I am going to use it. A building in the way may be inconvenient, but it may also stop somebody shooting at me.
As a Barons’ War retinue commander, I certainly wouldn’t wander around medieval England hoping to find a large open field where everybody could see us coming. That is why the terrain guidance in the rules is there.
Start with at least twelve pieces
A normal game is played on a 4’ x 3’ table. Second Edition asks you to divide that table into twelve 1’ x 1’ sections and recommends one piece of Area Terrain or LoS-blocking terrain in each. That means at least twelve pieces of terrain on a normal table. You do not need to mark out the squares. I never have. It is simply a useful way of looking at the table and spotting the areas where not very much is happening.
And by a piece of terrain, I mean something that actually affects the game. A building certainly counts. So does a wood. A decent length of wall or hedge can. A hill, field or area of rough ground may as well, depending on how you are using it.
A barrel probably does not. I am very fond of barrels, but we have to draw the line somewhere.
This is not new advice. First Edition already said more terrain was better, and Second Edition carries that approach straight through. A Barons’ War battlefield should contain enough terrain to affect Movement, Line of Sight and where you send your Warriors.
Put terrain where it can cause trouble
This is the bit I think is easiest to miss. Do not be afraid to put a building somewhere near the middle of the table. Or a wood. Or two buildings.
If all the substantial terrain is around the edges, the centre of the table can become a large open route from one force to the other. That makes movement more straightforward and gives missile troops very generous lines of sight. Move a house into that space and suddenly you have to deal with it. Perhaps one Group goes around the left while another takes the right. Your archers can see one approach but not the other. Somebody gets behind the building and becomes a problem.
A hedge across a useful route can be enough to change how you approach it. A wood beside an objective can make the shortest route rather less attractive. Missile troops are a good example. Archers and crossbowmen should be useful, but on a very open table they can dominate simply because the other player has nowhere to go. If an archer standing in their deployment zone can see almost everything worth shooting at, I would probably move a house.
You still need open ground. I am not suggesting you cover every available inch with hovels and woods until moving a Group becomes an exercise in rearranging scenery.
An open field can be a very useful part of the table when you actually have to decide whether crossing it is a good idea. A road between two buildings can suddenly feel exposed. A clearing beside a wood might be exactly where mounted Warriors finally get some room. Open ground is much more interesting when there is another way to go.
Let the scenario start the table
Before you begin adding scenery, read the scenario. If it needs a particular building, road, crossing or objective, place that first. Then build the rest of the battlefield around it.
Second Edition gives you several ways of doing this. The players can take turns choosing sections and placing terrain. One player can set up the battlefield and the other chooses where to deploy. An umpire or somebody else can build the table for you. The scenario itself may tell you how the terrain should be arranged.
For a typical game, I still like taking turns. I might put down a wood because I have a plan for it. You add a wall nearby and the plan changes. I put down a hill. You place a building that blocks part of the view from it. By the time the table is finished, it has developed between the two of you.
Once any terrain required by the scenario is fixed in place and the rest is down, stop and look at the table. Look at it as a battlefield, not as a finished piece of scenery. Second Edition deliberately tells both players to pause once all the terrain has been placed and agree on the setup. You can add something, move something, turn it or remove it if that will make for a better game. That last check is part of setting up the game.
If one side is horribly open, add something. If two buildings have ended up so close that nobody can sensibly move between them, shift one. If you have accidentally created a wonderful firing position that covers most of the battlefield, have another look at it. If one player has obviously had the better of the terrain placement, fix it now. It is much easier before the first Warrior moves.
Agree on what the terrain does
There is another Second Edition rule here that is worth doing properly. Before you deploy, make sure both players agree how the significant terrain on the table works. In practice, there are three distinctions I want to be clear about before we start: Area Terrain, Hindering Terrain and terrain that blocks Line of Sight.
Area Terrain has a defined footprint. Woods, fields, marshes and similar features are obvious examples. Anything inside that footprint is part of the terrain, and before the game you agree what effect it has on Movement, Line of Sight and Cover.
Hindering Terrain does not stop you seeing through or over it, but it can interfere with shooting. Hedges, low walls and fences are common examples. You can still draw Line of Sight through them, but if at least half of the shooting Group is affected, the attack is Hindered.
LoS-blocking terrain is different. You cannot draw Line of Sight through it. A solid building or castle wall is the obvious example. Area Terrain can also block Line of Sight, which is why a wood may let you see into it, but not straight through to something on the other side.
Once you have agreed those things, the rest becomes much easier. Does that wood restrict Movement? Does the hedge block Line of Sight or only affect it? Does the wall provide Cover? How high is the hill for Higher Ground? Most of the time the answer will be obvious, but not always.
If you have built a particularly nice river running across the table, deciding whether it can actually be crossed is much easier before the first Warrior reaches it. This becomes even more useful when using scratch-built or unusual terrain. The model on the table should tell you most of what you need to know, but both players should start the game understanding it in the same way.
Look across it, not just down at it
One thing I often do once the scenery is down is get my head down to table height and look across the battlefield. It is not a sophisticated technique, but it works. A table can look packed from above and then, from miniature height, you discover a clear line of sight running straight across it. Sometimes the opposite happens. A fairly modest building turns out to block far more than you expected.
It is also a good way of spotting terrain that looks lovely but is unlikely to have any part in the game. We have probably all put a particularly nice wood in a corner and then realised nobody has the slightest reason to go there. Have a look from both sides of the table. Check where mounted Warriors can actually move, where missile troops can see and what the approaches to the scenario objective look like.
The table does not need to be symmetrical. I would rather it was not. Then look at it again with your own retinue in mind. If you are already thinking about a wall you want to reach before your opponent, good.
Perhaps there is an excellent position for your archers, but it is a long way from the rest of your force. The shortest route towards the objective might cross an open field, while the route through the wood takes longer but gives you some protection. That is the sort of choice I want terrain to create before the game has even started.
Make it feel like somewhere
There is another reason I like a busy Barons’ War table, and this has less to do with how the rules work. The scenery gives the battle somewhere to happen. Second Edition talks about giving the table a theme, and this is exactly what I mean by that.
A road should go somewhere rather than appearing for twelve inches and stopping. A river needs to enter and leave the battlefield. Walls and hedges usually enclose something. A patch of woodland in the middle of a village probably needs a better reason to be there than the fact that you had some trees left in the box. A church beside a road and a few houses can become the edge of a village. A manor and some outbuildings feel completely different. Put a road through a wood and I am already expecting somebody to be ambushed along it.
You do not need a huge terrain collection. A few buildings, some walls and hedges, trees, a field and a hill can be moved around again and again. Change the road, move the buildings and suddenly you are fighting over another little piece of medieval England. That is one of the things I enjoy about games at this size. The battlefield can feel quite specific without needing to build an entire town every time you play.
Photograph from my collection
Setting up your first game
If this is your first game, this is what I would do:
Place any terrain specifically required by the scenario.
Think of the 4’ x 3’ table as twelve 1’ x 1’ sections.
Aim for at least one substantial piece of Area Terrain or LoS-blocking terrain in each.
Spread the terrain across the table rather than putting most of it around the outside.
Take turns choosing a section and placing terrain.
When everything is down, look at the battlefield together and move, add or remove anything that would make for a better game.
Agree how each significant piece of terrain affects Movement, Line of Sight, Cover and Higher Ground.
Look across the table from miniature height.
Then deploy your retinues.
The First Edition of The Barons’ War put my view on terrain rather plainly:
“More terrain the better; much more terrain is better still!”
Second Edition says it rather more simply:
“The more terrain, the better!”
I meant it both times.
With The Barons’ War, scenery should be something you use, not something you admire around the edge of the table. Hide behind the wall. Go around the house. Use the hedge to approach. Fight over the building. Get annoyed because your opponent reached it first.
If you are deploying and already looking across the table at a wall thinking, I really want to take that, then the table is doing its job.
Comments
Comments are moderated before they appear.
No comments yet.
Leave a comment
More articles
BROWSE THE JOURNAL

The Way We Play
One Saturday afternoon playing Warhammer Fantasy with a school friend changed the way I looked at miniature wargaming. Nearly forty years later, I’ve been thinking about that game, the people who brought us into the hobby, and why I still enjoy playing with toy soldiers.

Projects
The first draft of Siege & Urban Warfare is now written. Here’s how I’m trying to turn a medieval siege into a series of connected tabletop battles without losing what makes a siege feel like a siege.
Rules
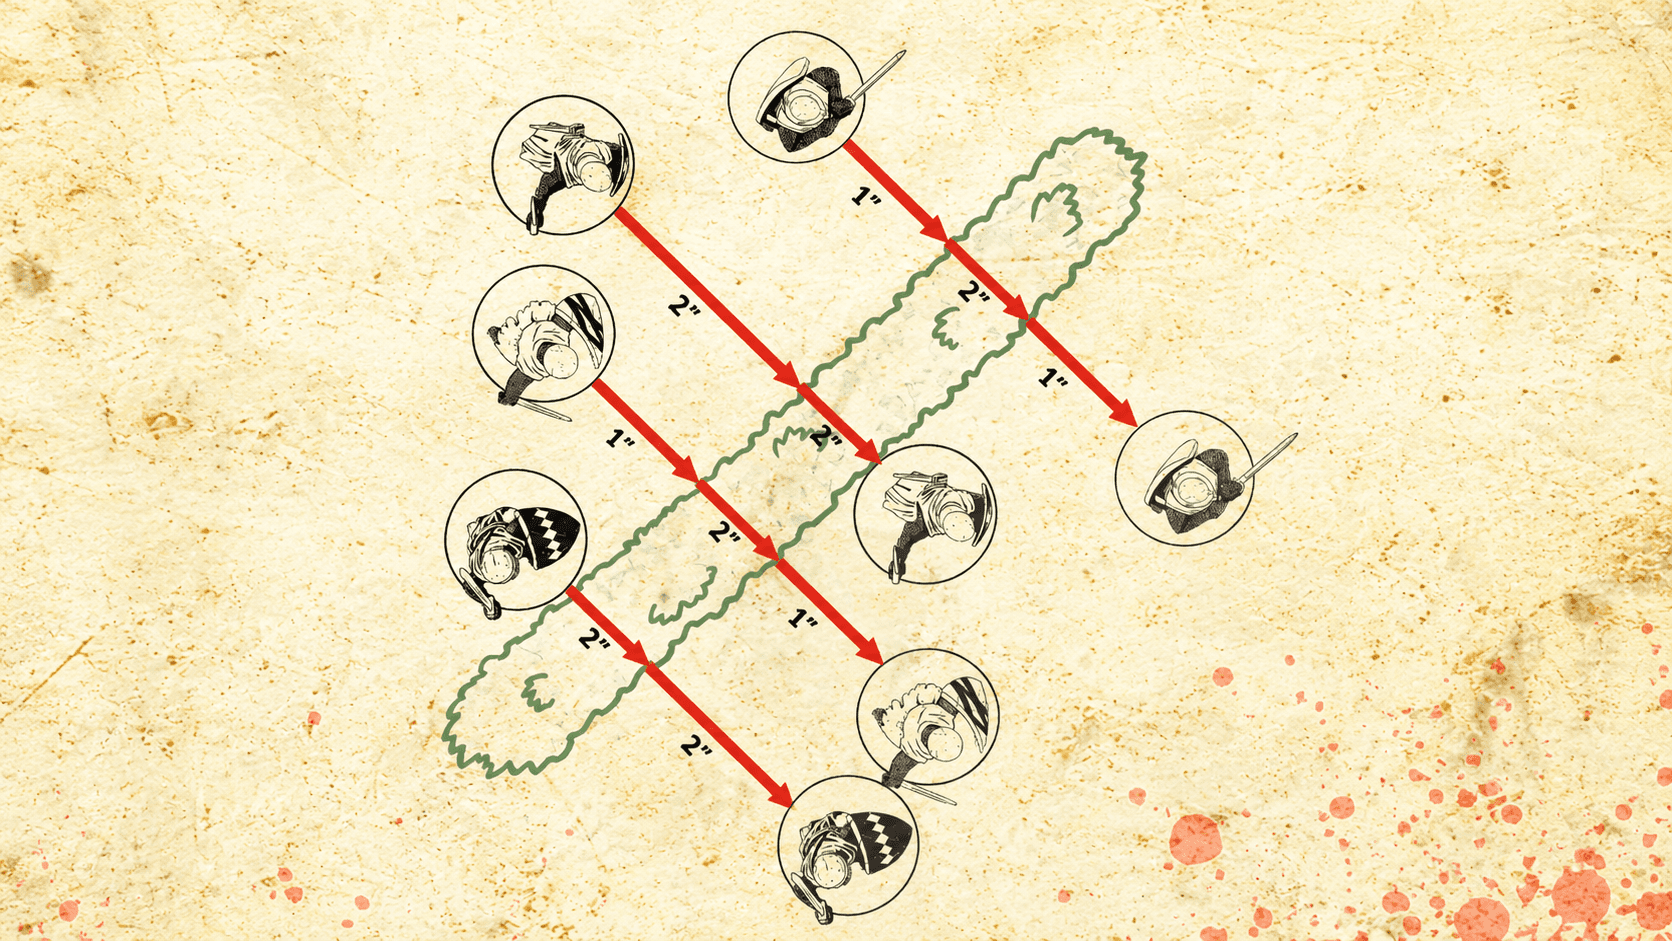
A proposed update to how Groups cross Obstacles in The Barons’ War, covering Charges, Defensive Positions, Forced Back, Regroup and Defend Actions for playtesting.
FROM THE BLACK DESK
Subscribe to my occasional newsletter for notes from my desk about games I’m designing, things I’m playing, miniatures, the hobby and new writing from the site. I promise to only send the good stuff - no spam here!